Appendix E - Modularizing an Unmodularized Project
Overview
This guide describes how to transition customized projects from a monolithic to a modular architecture.
Recommended Strategy
While it's best to design customer projects as modular from the beginning, the following staged approach can be used to modularize an existing unmodularized project:
-
Extract Custom Code
Move all customer-specific implementations into a dedicated module that is clearly separated from the ADITO xRM standard code. -
Replace Standard xRM with Modularized xRM
Integrate the modularized version of the ADITO xRM (available as of version 2024.1.0). This allows easier updates via individual modules. -
Split the Custom Module (Optional)
If needed, further divide the customer module into smaller, domain-specific modules at a later point.
Upgrading to Modularized Libraries
From version 2024.1.0 onwards, parts of the ADITO xRM were modularized. This includes renaming or moving functions and libraries. To support this:
- Every module provides upgrade scripts (
upgraders) located in itsothersdirectory. - These scripts help adapt function calls and import paths automatically.
To adapt the related function calls and imports, use the Designer’s upgrade function. See the section Executing the Upgrade for details on using JDito upgraders.
Preparation Steps
Before running the upgrade process:
- Ensure that the libraries in the customer project match the final unmodularized ADITO xRM version (2024.0.3).
- Move any changes in standard libraries to new customer-specific libraries using a consistent prefix (e.g.,
MYCUSTOMER_Person_lib). - Create matching upgrader scripts if needed to refactor customer function calls.
Only after this cleanup step can you begin the modular upgrade safely.
Executing the Upgrade
To apply the upgrade using the Designer:
1. Open Projects
-
The target ADITO xRM standard project (
basic-project) checked out at version 2024.1.0.
Runnpm installto ensure all modules and upgrader files are available. -
The customer project to be upgraded.
2. Run the Upgrade
Right-click the customer project in the Designer and select:
Upgrade JDito…
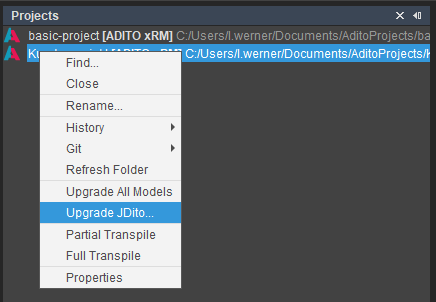 Figure: JDito upgrade option in the context menu
Select the basic-project folder in the file dialog and click Open:
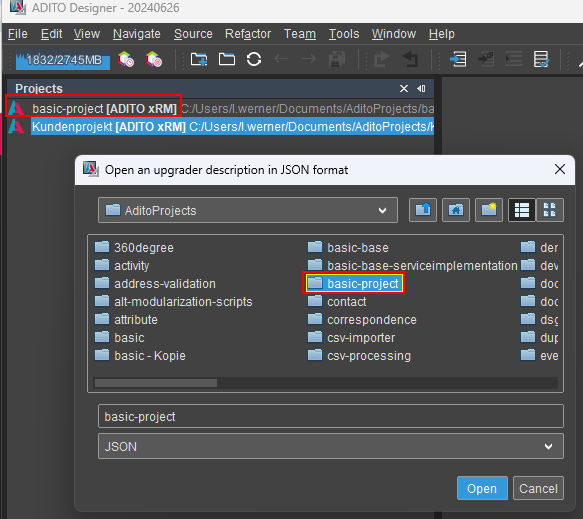 Figure: Selecting the folder containing JDito upgrader scripts
The Designer will recursively scan and execute all upgraders in the selected folder:
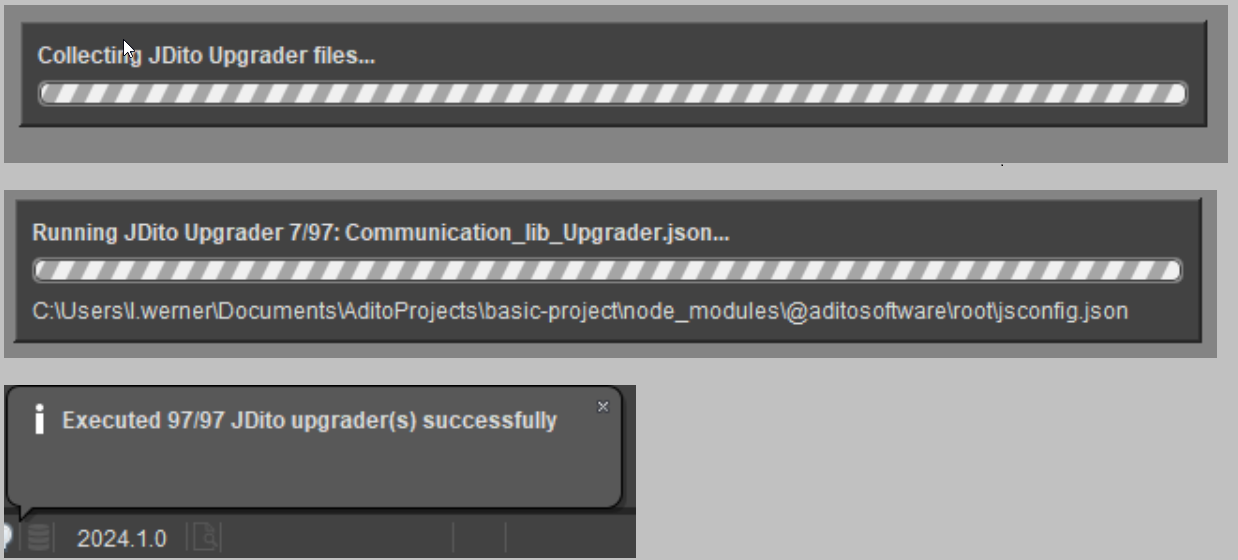 Figure: JDito upgrade process running in the Designer
Post-Processing
After the upgrade:
- All matching imports and function calls will be replaced with those from the new modular libraries.
- Some unused imports may remain.
Run ESLint Cleanup
To clean up unused imports and auto-fix minor issues, run the following script:
"eslint all": "npx eslint \"**/*.js\" --ignore-pattern node_modules/ --fix"
Running ESLint ensures consistent formatting and helps detect unused or broken imports.