Setting up VS Code
This guide provides step-by-step instructions for configuring Visual Studio Code (VS Code) for ADITO development, including installing the ADITO Extension Pack and configuring essential tools.
Preparing VS Code
- Download Visual Studio Code from the official website.
- If you are new to VS Code, we recommend reviewing the VS Code Getting Started Guide to familiarize yourself with the editor's interface and features.
VS Code comes with a command line interface (CLI) that allows you to run commands directly in the terminal. This CLI is located at one of the following paths:
- System Installer:
C:/Program Files/Microsoft VS Code/bin/code.cmd - User Installer:
%USERAPPDATA%/Programs/Microsoft VS Code/bin/code.cmd - ZIP:
<custom install location>/bin/code.cmd
This CLI will used as an entry point for any VS Code command.
Install Node.js and npm
Node.js and npm are not bundled with the IDE and must be installed separately.
- Download Node.js from the official website using your preferred installation method.
- After installation, verify the setup by running the following commands in your terminal to print the version numbers:
node -v
npm -v
Install the ADITO Extension Pack
The ADITO Extension Pack contains all the necessary tools for ADITO development.
- Open the Extensions view in VS Code (Ctrl+Shift+X).
- Search for "ADITO Extension Pack" and click Install.
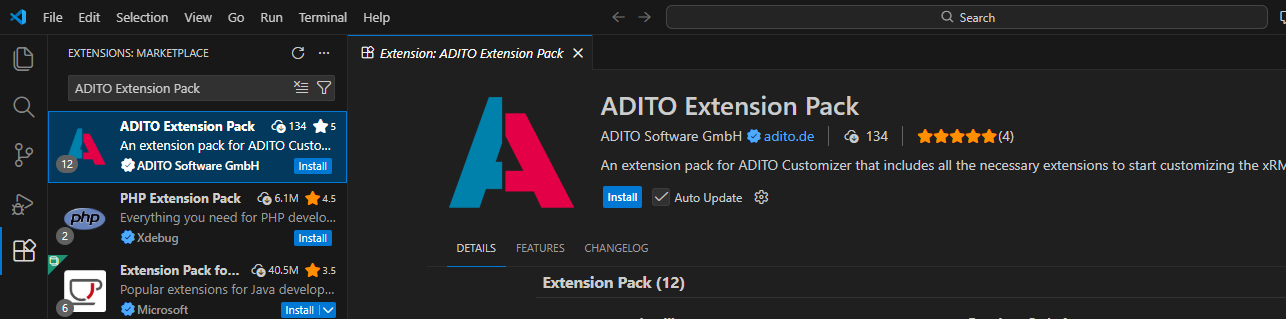
Figure: ADITO Extension Pack inside VS Code
An extension pack is a curated collection of extensions installed as a single unit. While you can install individual extensions manually, the pack ensures you have the complete recommended environment.
optionally: Liquibase 4 Integration
To use Liquibase 4 Integration within VS Code, ensure that the JAVA_HOME environment variable is correctly configured on your system.
Recommended Configurations
To optimize your development workflow, we recommend the following configurations
Auto Save
Enable Files: Auto Save to ensure your changes are persisted automatically. We recommend setting this to afterDelay or onFocusChange.
Format on save using your ESLint configuration
To keep formatting consistent and ensure your ESLint rules are applied automatically, enable "format on save" and run ESLint fixes on save in your VS Code workspace settings (.vscode/settings.json):
{
   "editor.codeActionsOnSave": {
      "source.fixAll.eslint": "always"
   }
}
With this configuration, VS Code formats your files on save and applies all auto-fixable ESLint rules automatically.
Configure this per project so the whole team uses the same formatting and linting settings.
Enable the NPM Scripts View
The NPM Scripts view allows you to execute scripts directly from the Explorer. To enable it:
- Use the command "Explorer: Focus on NPM Scripts View" from the Command Palette (Ctrl+Shift+P).
- Alternatively, navigate to "View > Open View... > NPM Scripts".
For more details on the NPM Script view, refer to the official VS Code documentation.