Installation and Usage
This document provides a comprehensive guide for installing the ADITO Outlook add-in, covering the necessary steps to download the manifest file, install the add-in across various Outlook platforms, and connect it securely to your ADITO system.
Add-In Installation to Outlook
The ADITO Outlook add-in must be installed to enable ADITO functionalities within Outlook. Installation options include manual installation via a manifest file or centralized deployment using Microsoft's administrative tools. For detailed information on these methods, refer to the official Microsoft documentation on add-ins installation and centralized deployment.
Downloading manifest.xml
Download the current stable manifest file from the ADITO Service Client via:
- Context:
Version management - Category:
Core / outlook-add-in
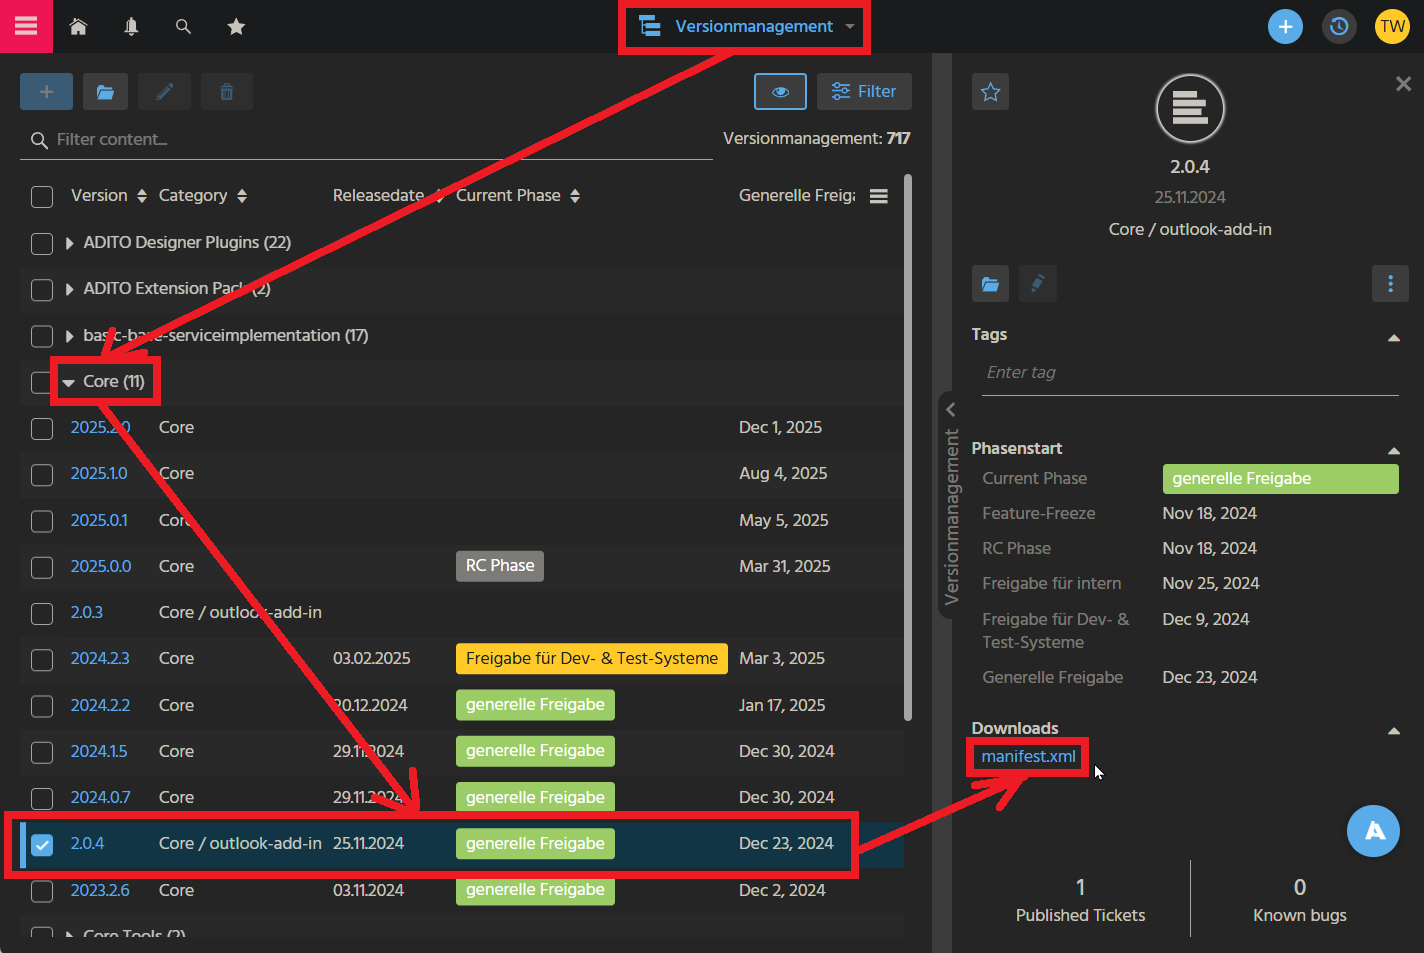 Figure: Version management in ADITO Service Client
For additional information on sideloading Outlook add-ins for testing, see Microsoft's guide: Sideload Outlook add-ins for testing.
Installing manifest.xml
Refer to the following Microsoft guides for detailed installation instructions based on your Outlook variant:
| Installation Method | Scope | Platform | Suitable For |
|---|---|---|---|
| Manual via manifest file | User-level | Outlook Web / Desktop | Developers, testing |
| Centralized deployment | Organization-wide (Admin only) | Microsoft 365 environments | Production rollout |
Web Variant Installation (Excerpt)
- Open Outlook Sideload Portal
- Log in with your Microsoft account.
- Select My add-ins.
- Under Custom add-ins, choose Add a custom add-in > Add from file.
- Select the downloaded
manifest.xmlfile. - Click Open and then Install, ignoring any warnings.
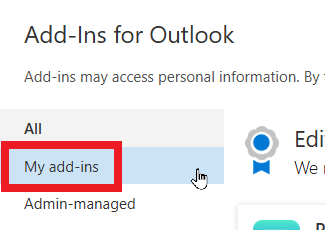 Figure: My add-ins dialog
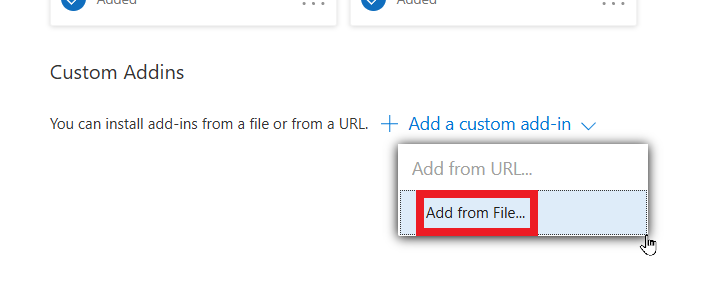 Figure: Add custom add-in from file
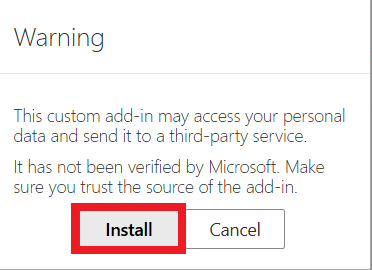 Figure: Install the add-in
Centralized Distribution
Centralized deployment is typically managed via the Microsoft Exchange Admin Center (EAC), allowing administrators to distribute the add-in across an organization without manual installation on each client. Refer to Microsoft's documentation on Managing deployment of add-ins for detailed instructions.
Usage in Outlook
After installation, the add-in is accessible in Outlook on the web via the "Apps" icon in the top right corner:
 Figure: Apps icon in Outlook on the web
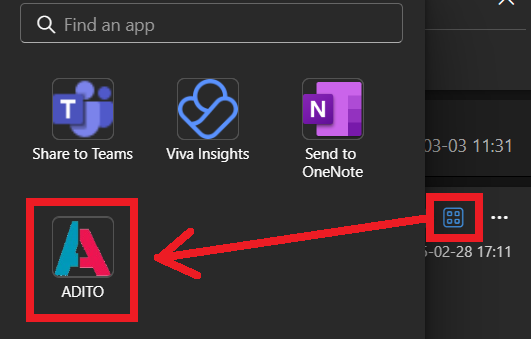 Figure: Add app to Outlook
Restart or refresh Outlook after installing, uninstalling, or re-installing the add-in to ensure availability. For desktop Outlook, availability may be delayed (see Troubleshooting). After re-installation, reset the add-in cache as described in the Reset section.
Connecting Add-In to ADITO
- On first use, enter your ADITO system URL (e.g., https://mycompany.adito.cloud/)
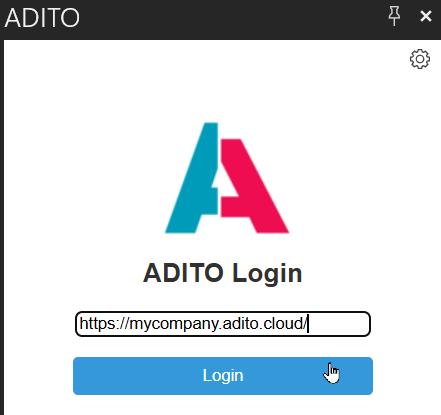 Figure: Enter ADITO login URL
- A code will be sent to your ADITO Notification Center (bell icon in upper left of ADITO client).
- Enter the code to complete login.
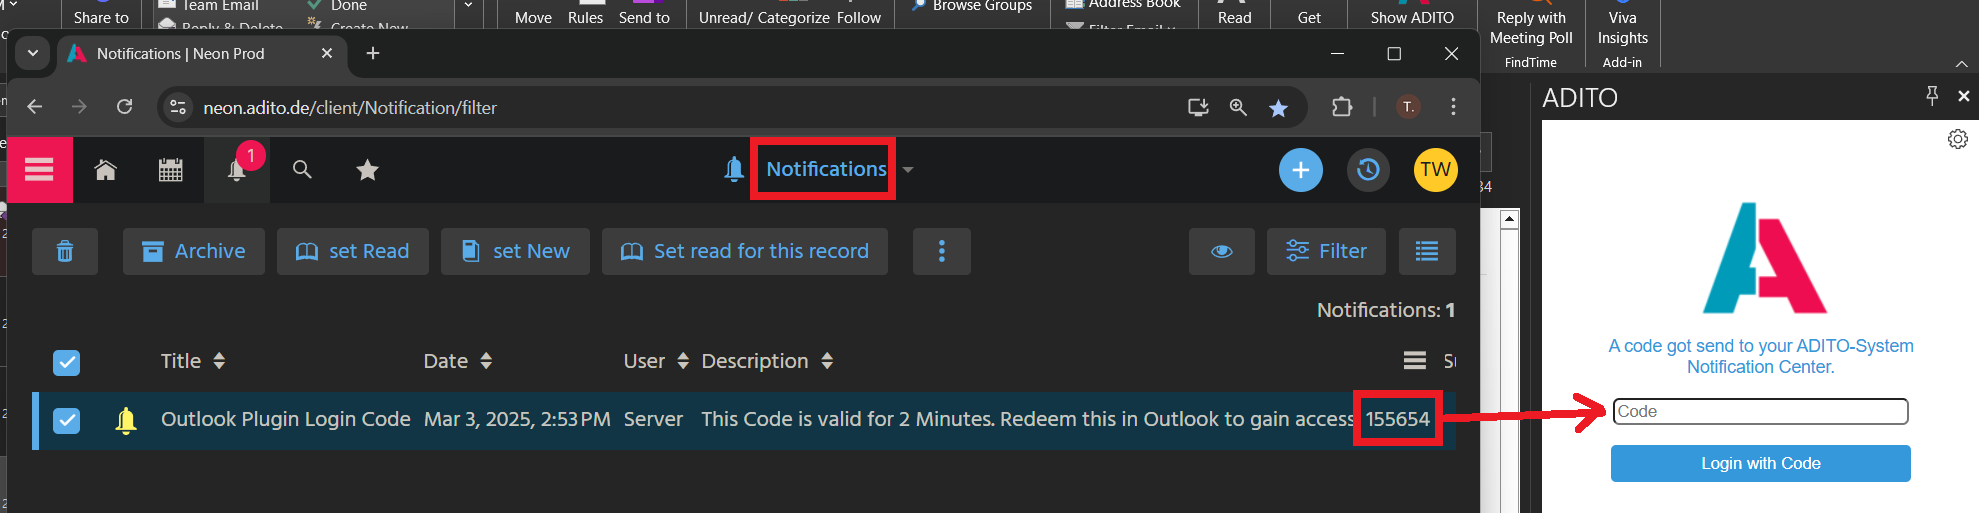 Figure: Enter code
You must enter the verification code within 2 minutes. Otherwise, the login will fail and must be restarted.
To successfully authenticate, the user must have the roles INTERNAL_WEBSERVICE and OUTLOOK_ADDIN assigned in ADITO. Otherwise, login attempts will result in a 401 Unauthorized error.
Usage
The ADITO Outlook add-in becomes available when a message is selected. Once opened, the add-in interface appears on the right side of the selected email:
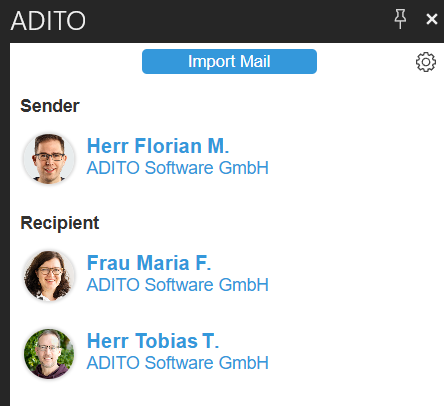 Figure: Add-in interface positioned beside the email content
Click the "pin" icon at the top-right corner of the add-in interface to keep it visible when navigating between different emails.
 Figure: Pinning the add-in interface to keep it persistent