Testing OAuth2 with Postman
Overview
This document provides a step-by-step guide to configuring OAuth2 authentication with Microsoft Entra and testing it using Postman. The example focuses on the OAuth2 Client Credentials flow and demonstrates how to integrate the authentication provider with Postman and the ADITO system.
Configuration in Postman
Prerequisites
Before proceeding, ensure that you have created an alias of type Authentication Provider in ADITO, configured with the required Microsoft Entra credentials.
Steps to Configure OAuth2 in Postman
-
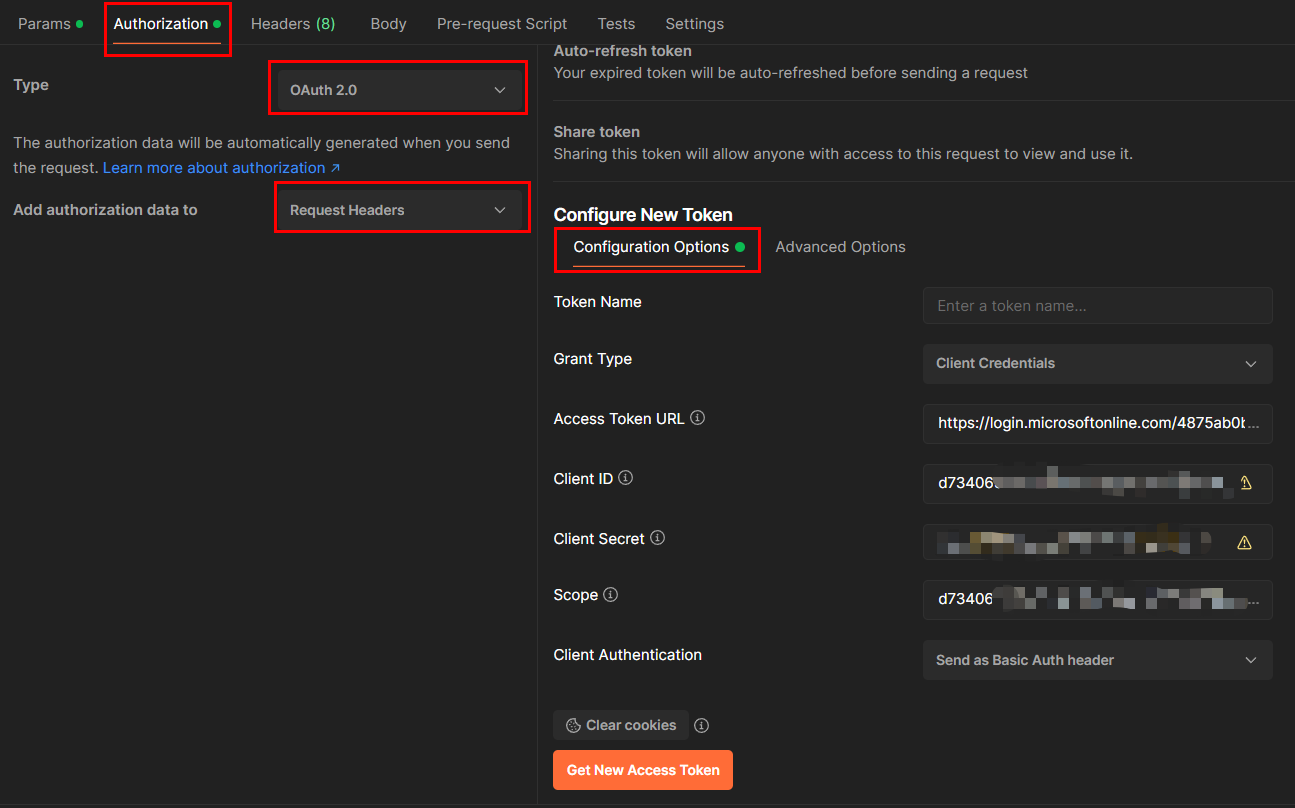
Open Postman and navigate to the Authorization tab.
-
Select OAuth 2.0 as the authorization type.
-
Click on Get New Access Token to configure a new token.
-
Fill in the following fields under Configure New Token:
- Grant Type: Select
Client Credentials. - Access Token URL:
Replace
https://login.microsoftonline.com/{tenant}/oauth2/v2.0/token{tenant}with the value of thetenantIdproperty from your Authentication Provider alias configuration. - Client ID: Use the
clientIdproperty value from your alias. - Client Secret: Use the corresponding secret from your alias.
- Scope:
Replace
{clientId}/.default{clientId}with theclientIdproperty value. - Client Authentication: Select Send as Basic Auth header.
- Grant Type: Select
Figure: Authentication Provider configuration in ADITO
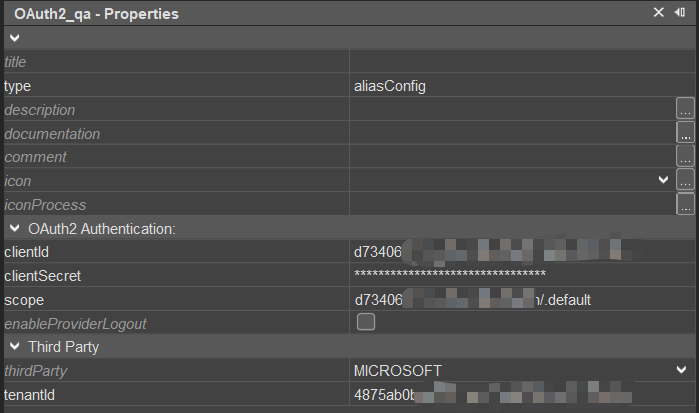
Figure: OAuth2 configuration in Postman Authorization tab
The above configuration applies specifically to Microsoft Entra. Adjust parameters accordingly if using a different OAuth2 provider.
- Click Get New Access Token to initiate the authentication request.
Figure: Successful token retrieval dialog in Postman
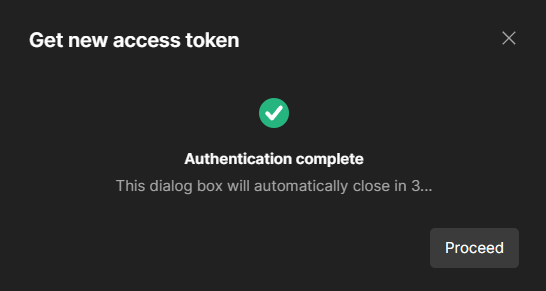
- After the token is retrieved, click Use Token to apply it to your requests.
Figure: Token selection in Postman
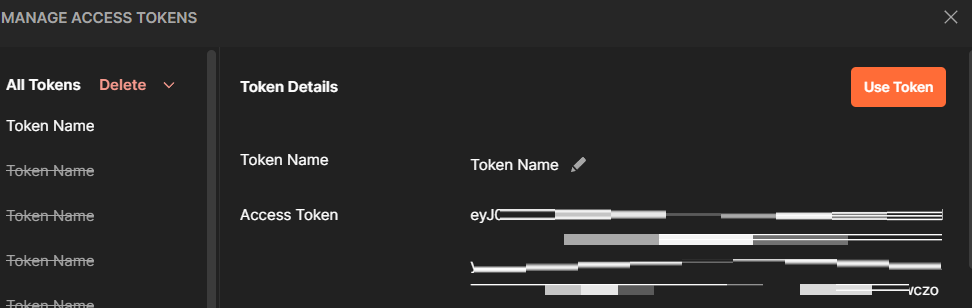
- The token will now appear in the Authorization header of your requests.
Figure: Current token displayed in Postman
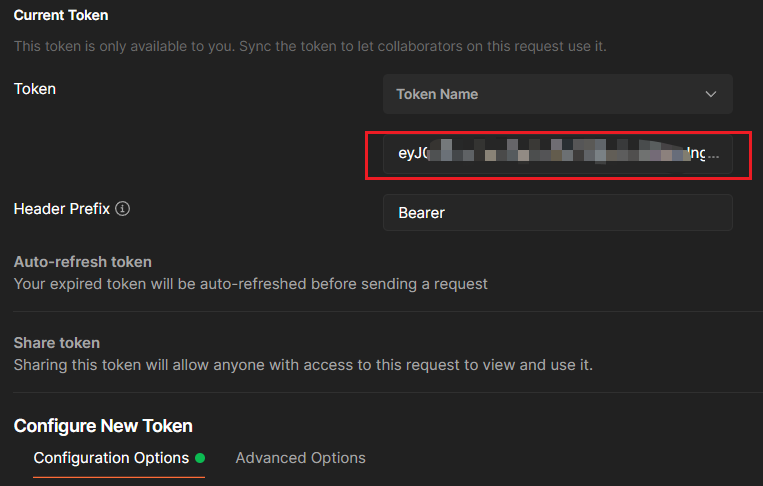
- You can now make authenticated web service calls using the configured token.
Figure: Example web service call in Postman

- To verify the headers sent with the request, switch to the Headers tab. Authorization headers are hidden by default and must be explicitly displayed.
Figure: Headers sent with the web service request

Configuration in the ADITO Designer
Adding OAuth2 Login Configuration
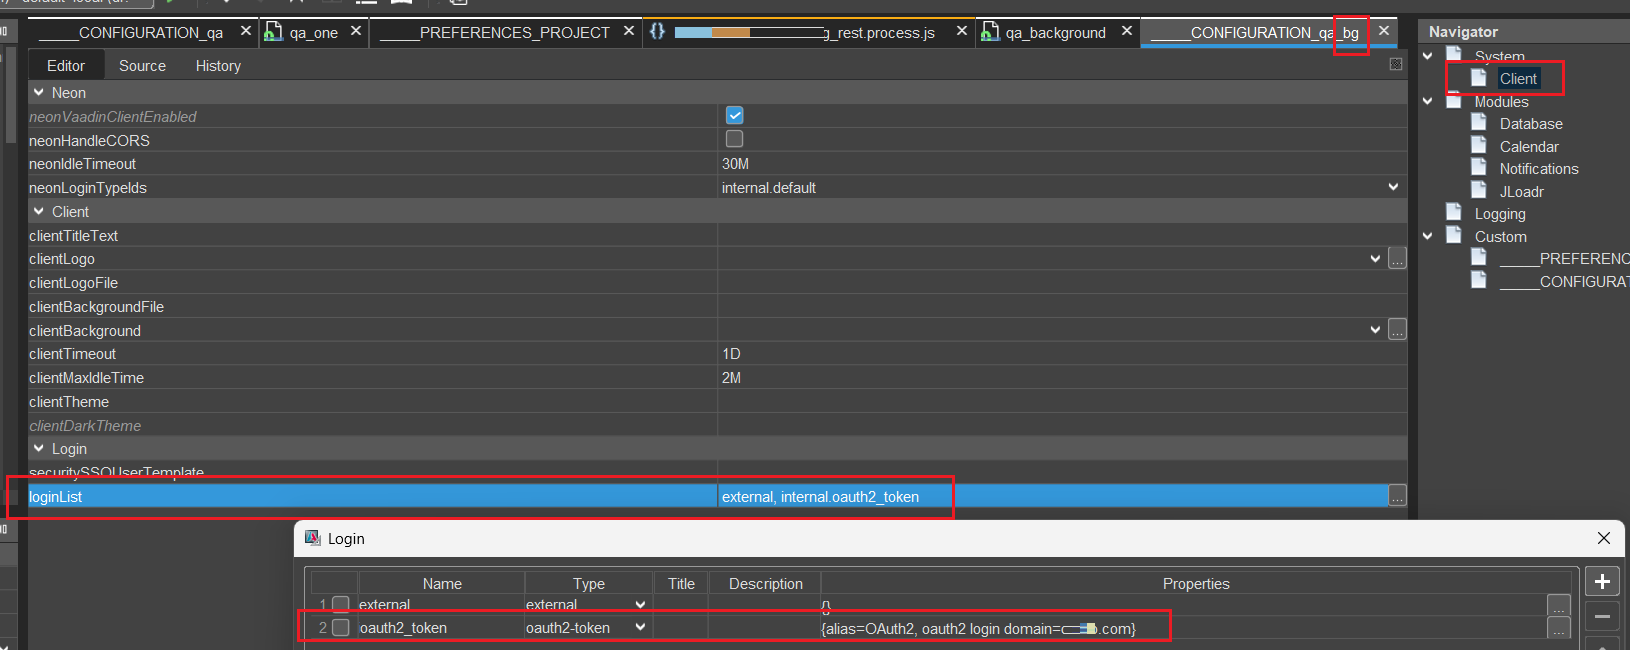
- In the ADITO Designer, open the instance configuration for the bg system.
- Navigate to
client > Login > loginList. - Add a new login configuration of type
oauth2-token.
Figure: OAuth2 login configuration in ADITO Designer
Configuring the Web Service Process
- Open the web service process configuration.
- Set the property
loginTypeIdto the exact name of the OAuth2 login added to theloginListin the bg system instance configuration.
Figure: Web service process configuration
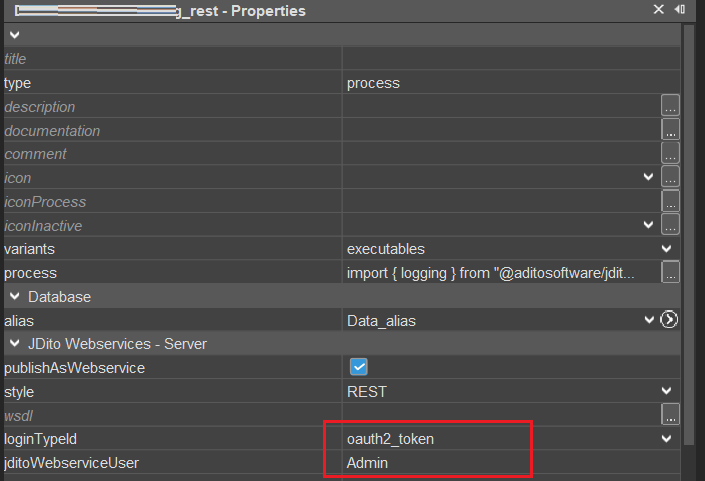
The loginTypeId value must be entered manually; it is not selectable from a list. Ensure correct spelling to avoid authentication errors.
Troubleshooting
If the web service returns a 402 Unauthorized error, verify that the web service user is correctly set in the property jditoWebserviceUser and has the necessary permissions.
Always verify the OAuth2 token validity and scopes before making web service calls to prevent authorization failures.