Dashboards and Dashlets
Task
- Create a new private Dashboard for the CarPool example.
- Create 3 Dashlets and add them to the new Dashboard:
- one showing all reservations
- one showing only cars with license plate number starting with the letter "M"
- one showing all drivers older than 35 years
- Create a suitable default configuration for the new Dashboard.
Here you can find a generic description of the handling of Dashboards and Dashlets.
Solution
Create a new Dashboard
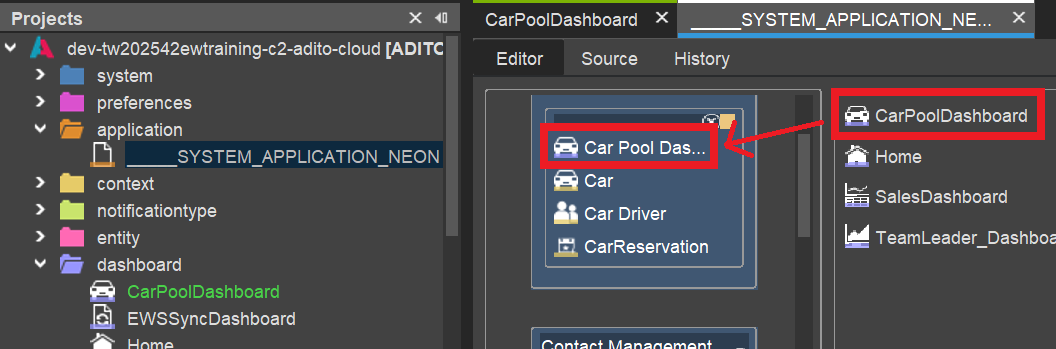
In the project tree, navigate to folder "dashboard", open its context menu, and choose option "New". Name the new Dashboard "CarPoolDashboard".
Configure the Dashboard's properties:
title: "Car Pool Dashboard"icon: VAADIN:CARdashboardType: PRIVATEeditRoles: leave empty
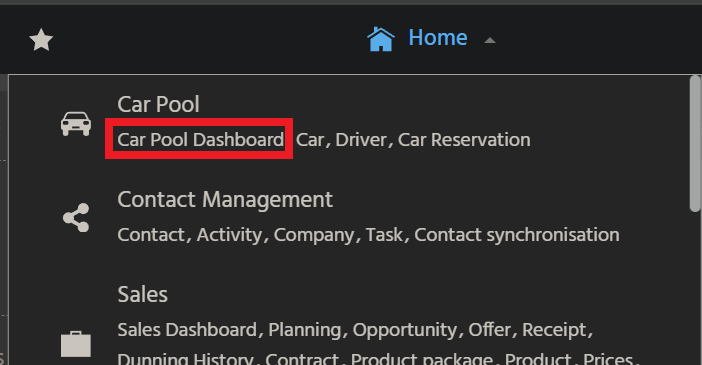
Add the new Dashboard to menu group "Car Pool" of the Global Menu.
Create Dashlets
CarReservation
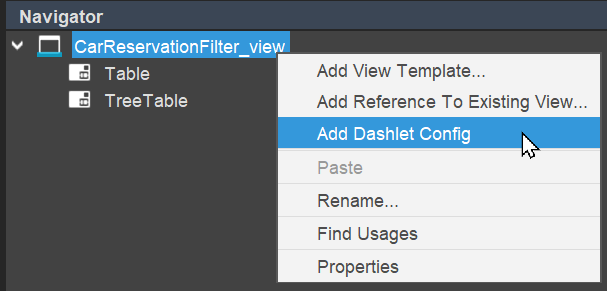
Add a new DashletConfig to CarReservationFilter_view:
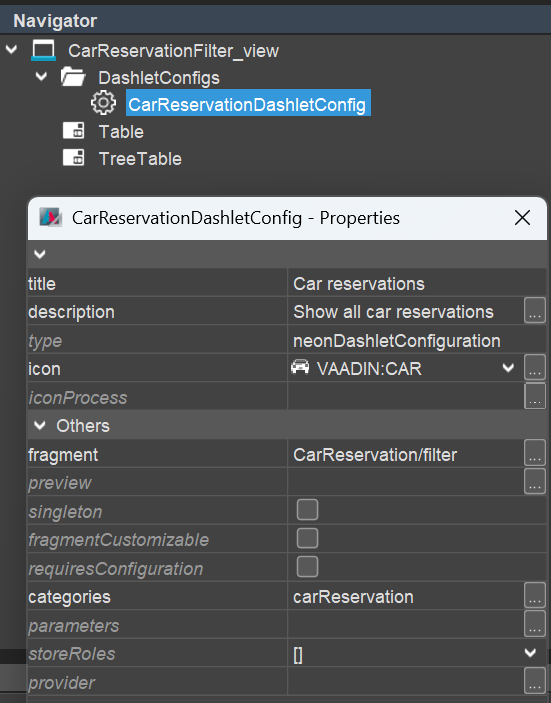
Name it "CarReservationDashlet" and configure its properties:
title: "Car reservations"description: "Show all car reservations"icon: "VAADIN:CAR"categories: name = "carPool", title = "Car Pool"fragment: "CarReservation/filter"
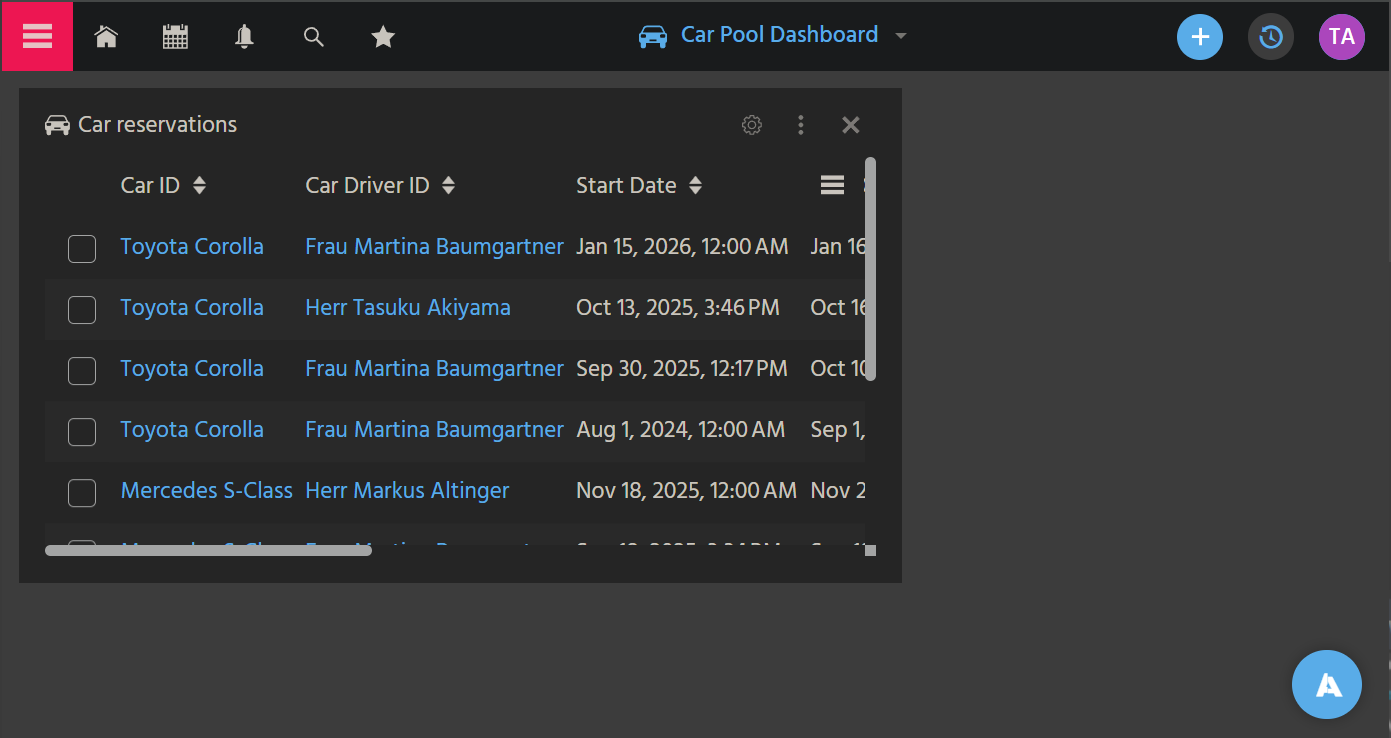
Deploy, log out and log in to the client. If you now open the DashletStore, you see that a new category titled "Car Pool" is available, containing the new Dashlet. You can now add it to the "Car Pool Dashboard":
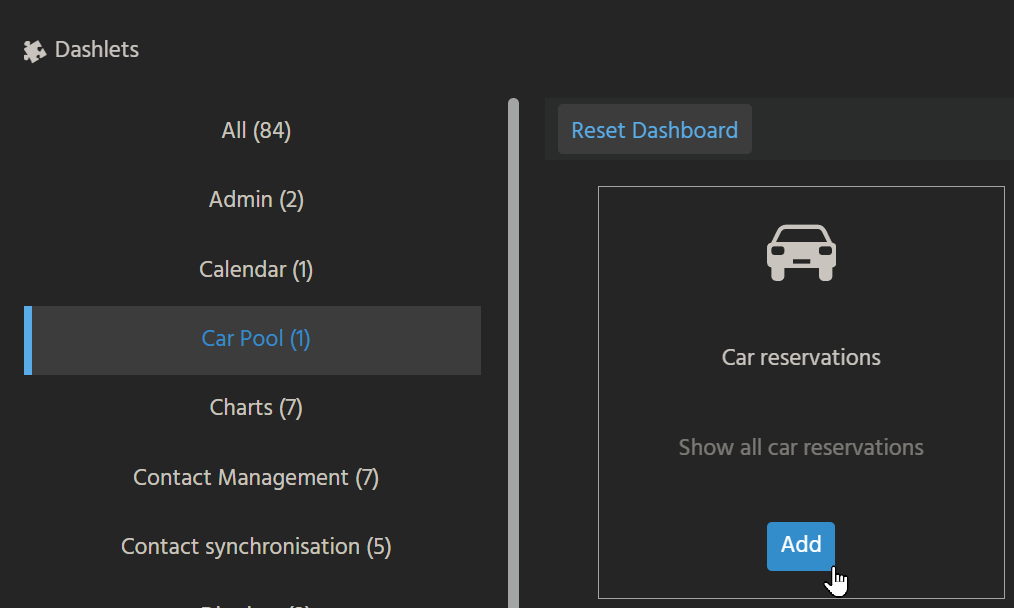
->
Car
In the client, open CarFilter_view and filter the datasets for all cars whose license plate number starts with the letter 'M'. (This will only work, if the RecordFieldMapping LICENSEPLATENUMBER.value has property isFilterable set to true.) Copy the URL fragment into the Windows clipboard:

Add a new DashletConfig to CarFilter_view, name it "CarSpecialDashlet" and configure its properties:
title: "Cars LPM starting with 'M'"description: "Show all cars whose license plate number starts with the letter 'M'"icon: "VAADIN:CAR"categories: name = "carPool", title = "Car Pool"fragment: (paste from clipboard) "Car/filter?hidden-columns=CARID&search=eyJ0eXBlIjoiZ3JvdXAiLCJvcGVyYXRvciI6IkFORCIsImNoaWxkcyI6W3sidHlwZSI6InJvdyIsIm5hbWUiOiJMSUNFTlNFUExBVEVOVU1CRVIiLCJvcGVyYXRvciI6IlNUQVJUU1dJVEgiLCJ2YWx1ZSI6Ik0iLCJrZXkiOiJNIiwiY29udGVudHR5cGUiOiJURVhUIn1dfQ%3D%3D"
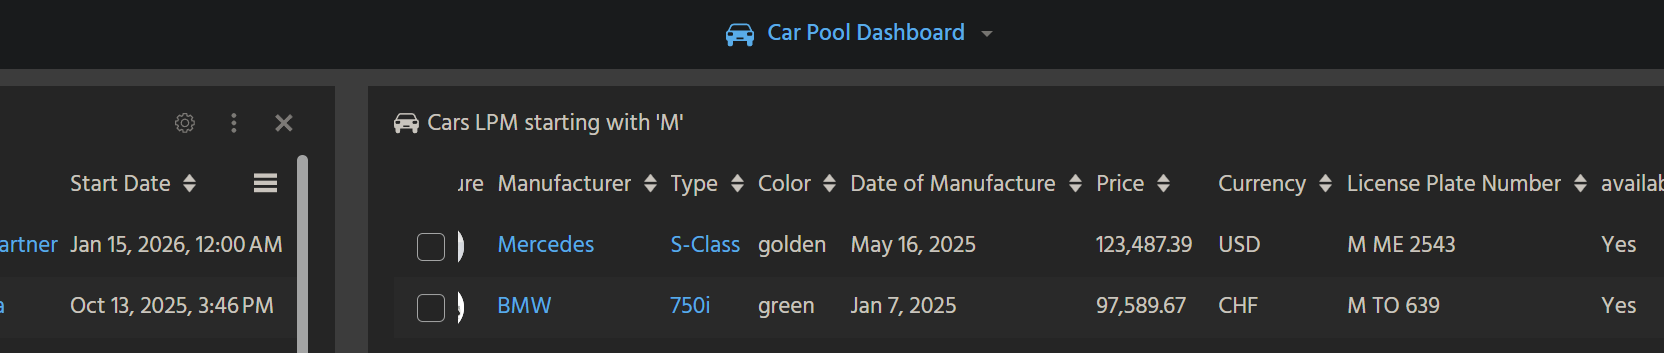
Deploy, log out and log in to the client. If you now open the DashletStore, you see that the existing category "Car Pool" contains the new, second Dashlet. You can now add it to the "Car Pool Dashboard":
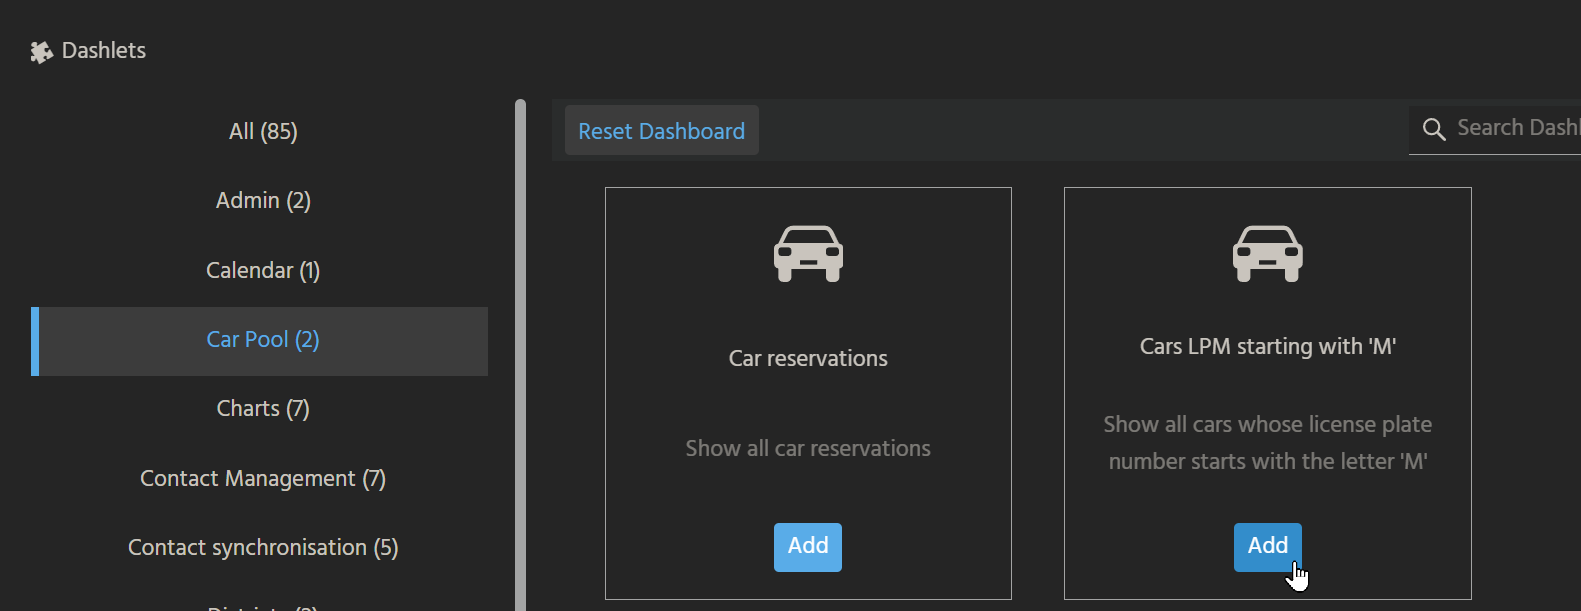
->
CarDriver
In the client, open CarDriverFilter_view and filter the datasets for all drivers whose age is greater than 35 years. (This will only work, if the RecordFieldMapping age.value has property isFilterable set to true.) Copy the URL fragment into the Windows clipboard:
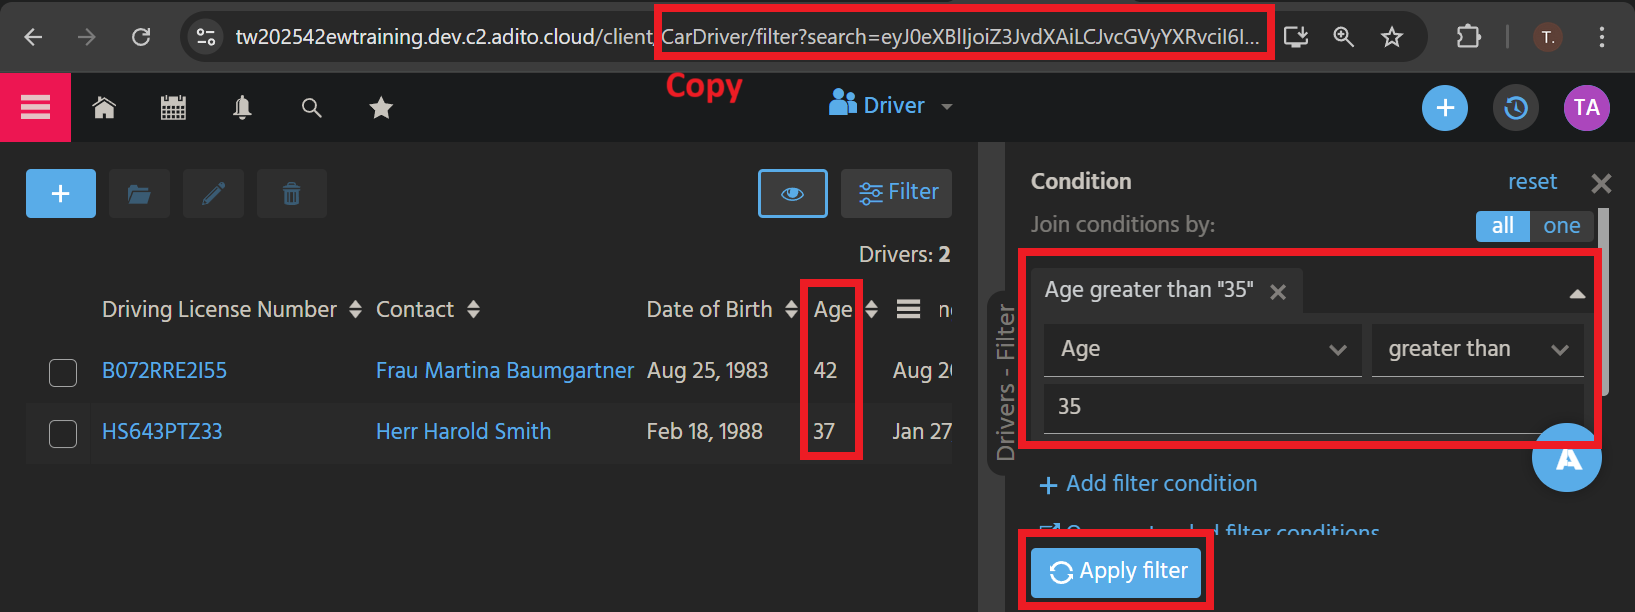
Add a new DashletConfig to CarDriverFilter_view, name it "CarDriverSpecialDashlet" and configure its properties:
title: "Drivers older 35"description: "Show all drivers older than 35 years"icon: "NEON:GROUP_APPOINTMENT" (e.g.)categories: name = "carPool", title = "Car Pool"fragment: (paste from clipboard) "CarDriver/filter?search=eyJ0eXBlIjoiZ3JvdXAiLCJvcGVyYXRvciI6IkFORCIsImNoaWxkcyI6W3sidHlwZSI6InJvdyIsIm5hbWUiOiJhZ2UiLCJvcGVyYXRvciI6IkdSRUFURVIiLCJ2YWx1ZSI6IjM1Iiwia2V5IjoiMzUiLCJjb250ZW50dHlwZSI6Ik5VTUJFUiJ9XX0%3D"
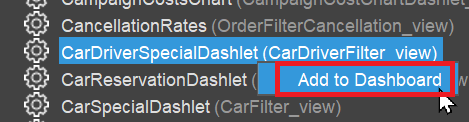
Deploy, log out and log in to the client. If you now open the DashletStore, you see that the existing category "Car Pool" contains the new, third Dashlet. You can now add it to the "Car Pool Dashboard":

Create default configuration
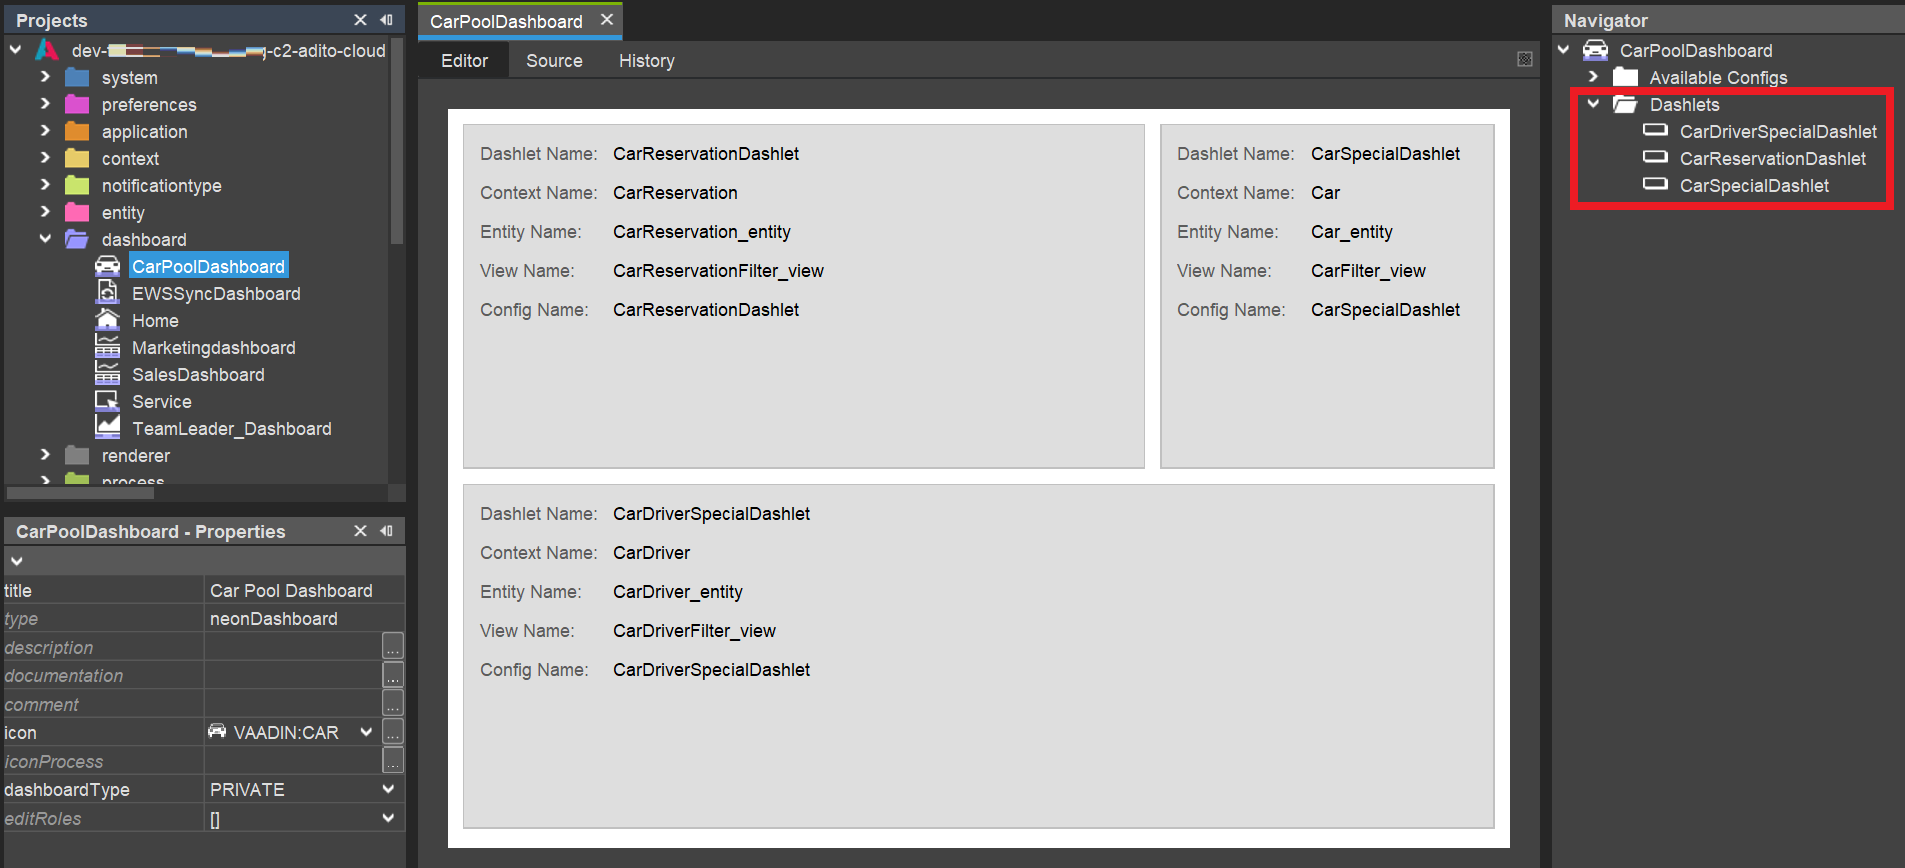
In the project tree, double-click on CarPoolDashboard, in order to open it in the "Navigator" window. Here, open folder "Available Configs" and add the 3 carpool-related Dashlets to the Dashboard, one after another, via their context menu:
Leave their names unchanged.
Arrange the 3 Dashlets in a suitable size and order, using their properties xPos, yPos, colspan (width), and rowspan (height). If you want the Dashboard to look like shown in the screenshot at the end of chapter CarDriver, the configuration is as follows:
| Dashlet | xPos | yPos | colspan | rowspan |
|---|---|---|---|---|
| CarReservationDashlet | 0 | 0 | 2 | 4 |
| CarSpecialDashlet | 2 | 0 | 1 | 4 |
| CarDriverSpecialDashlet | 0 | 4 | 3 | 4 |
In the Designer, the result will then look like this:
Deploy, log out and log in to the client. Open the Car Pool Dashboard. For testing reasons,
-
change the size and the order of the existing Dashlets arbitrarily. Then, open the DashletStore and click on button "Reset Dashboard":
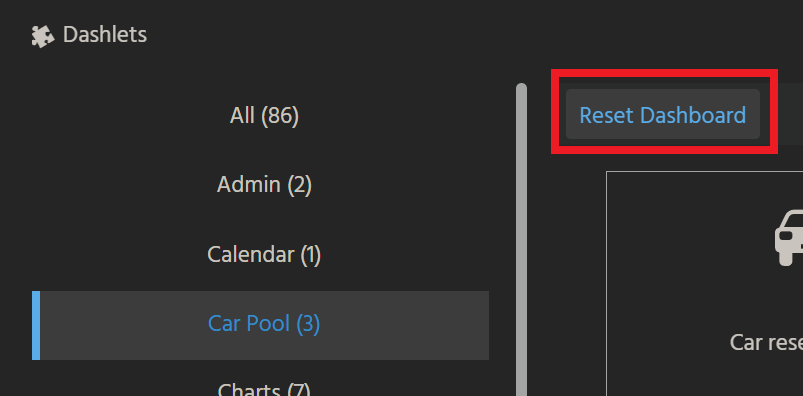
This will re-arrange the Dashlets, according to the default configuration.
-
log out and log in with another ADITO user: If you then open the Car Pool Dashboard for the first time, the size and order of the Dashlets should be according to the default configuration.