Task
After making sure that your concept includes a well-modelled (complete, normalized, etc.) data structure, you can now proceed by turning the concept into Contexts and Entities.
As for CarReservation, an automated generation via Blueprints should be used.
You can find a generic description of Context, Entity, and Views in chapter The Basics.
Solution
Remember to name all ADITO models (Contexts, Entities, Views, etc.) strictly according to the Spelling Guideline. See sub-chapter "Spelling and Wording/ADITO models".
You may start with the Contexts or with the Entities. In practice, it is slighltly faster to start with the Contexts.
Context
Create 2 Contexts named Car and CarDriver (CarReservation will be handled later, via the "Blueprint" automatism). Give each of them a self-explanatory title and a suitable icon. The latter two will only be visible in the menu editor, not in the client.
Entity
Subsequently, create one Entity per Context and name it "Car_entity", etc. It is recommended to use the Context's context menu (RMB > New), because then the Entity will be automatically assigned to the Context. Give each Entity a self-explanatory title & titlePlural, and a suitable icon (You need to set the icon twice: Use the property icon, which is visible in the Designer, and use property iconId, located at the end of the Entity's property sheet, for being visible in the client). You may use the same icon as you did for the Context.
Be aware that the title will be used as label of the Context in the Global Menu. Similarly, the icon of iconId will be shown in the client, not the Context's icon.
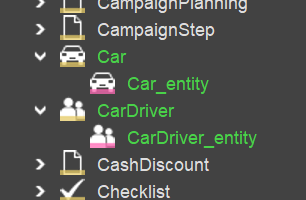
The appearence of the 2 new Contexts/Entities in the project tree may look like this:
Integration in the menu
The above configuration is the minimum you need for extending the Global Menu:
In the project tree, navigate to application > _____SYSTEM_APPLICATION_NEON (double click) and create a new menu group, named "CarPool", titled "Car Pool" - simply by dragging and dropping one of the 2 Entities in an empty space above, below, or between the other menu groups. Configure a suitable icon for the new menu group.
Now, drag and drop also the other Context into the menu group's sub-group.
Equip the sub-group with a suitable role (e.g., "INTERNAL_EVERYONE"), by dragging and dropping the role into the sub-group.
The appearence of the new menu group and the 2 new Contexts in the menu editor may look like this:

Deploy
Now you may test the result by performing a deploy and check the Global Menu in the web client.
Everytime you deploy changes that have an impact on the Global Menu, you need to logout and re-login to the web client, in order to make the changes visible. In all other cases, a refresh of the respective Context is enough.
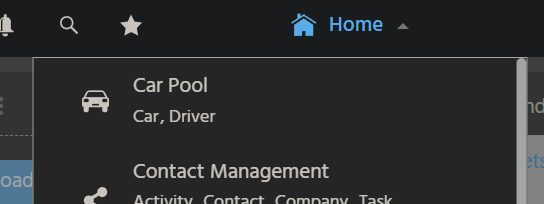
The appearence of the new menu group and the 2 new Contexts in the Global Menu may look like this: