Task
We have created the basic models required for handling cars and car drivers, manually. Now, as for the third data structure - car reservations - use blueprints for creation and configuration.
In this chapter, we will use existing blueprints provided by the ADITO xRM project. If you are interested in a more detailled description and in information on how to create your own blueprints, please check chapter Blueprints.
Solution
First, create the database table CARRESERVATION with all required columns.

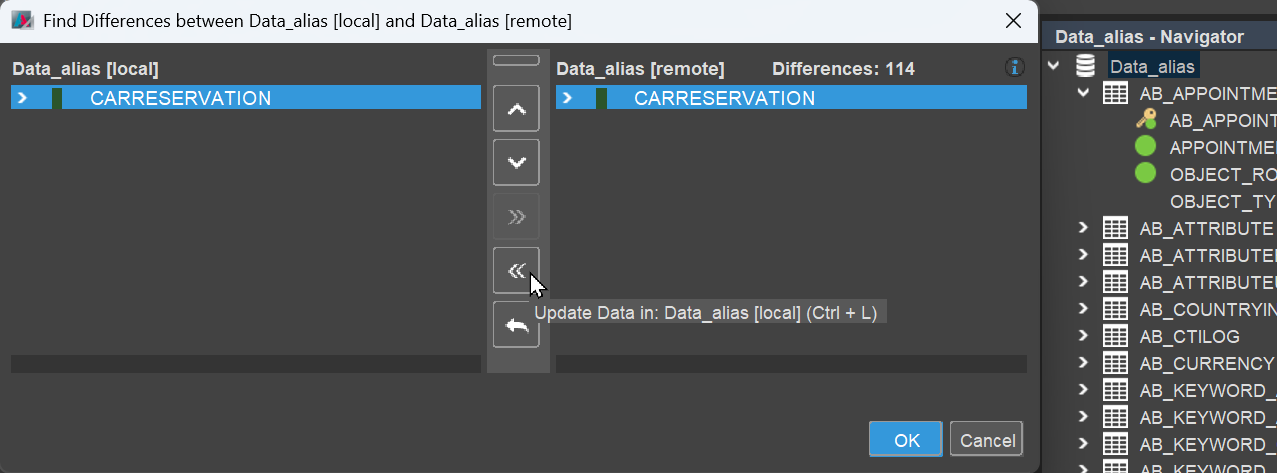
Update the Alias Definition.
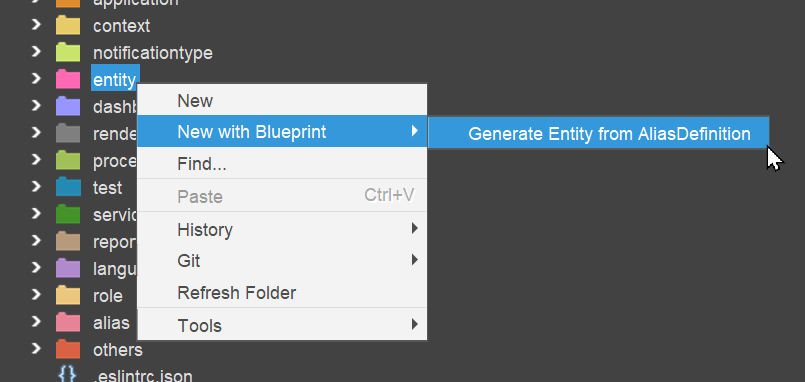
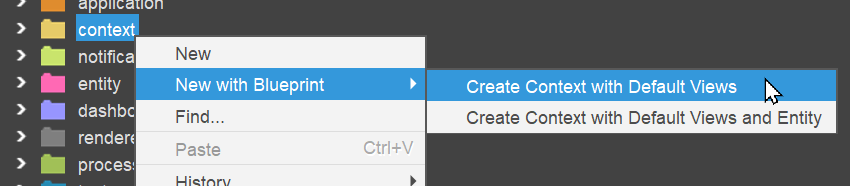
Subsequently use the 2 blueprints for creating Entity, RecordContainer, Context, and Views:
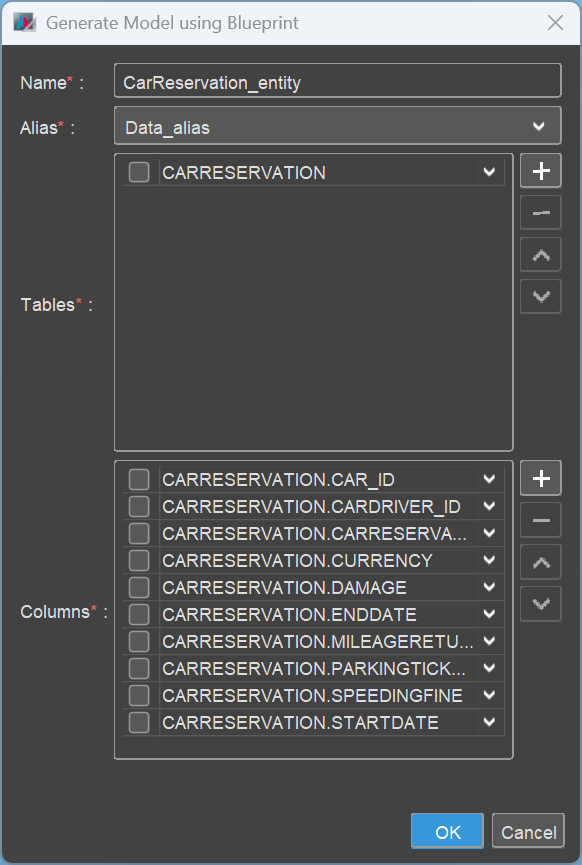
(...you may skip the 4 standard columns - DATE_NEW, etc.)

Rework
Now that the models have been created, some minor rework of the EntityFields is required, e.g., for the properties
- title
- contentType/resolution
- mandatory
- isFilterable (RecordFieldMapping)
Furthermore, select a suitable icon for the Entity/the Context property icon or iconId, respectively.
Add the calculated EntityField "mileageStart" (without logic, for the meantime).
For every View, create and configure the common ViewTemplates, including a reasonable assignment of EntityFields.
Add the new Context to the Global Menu.
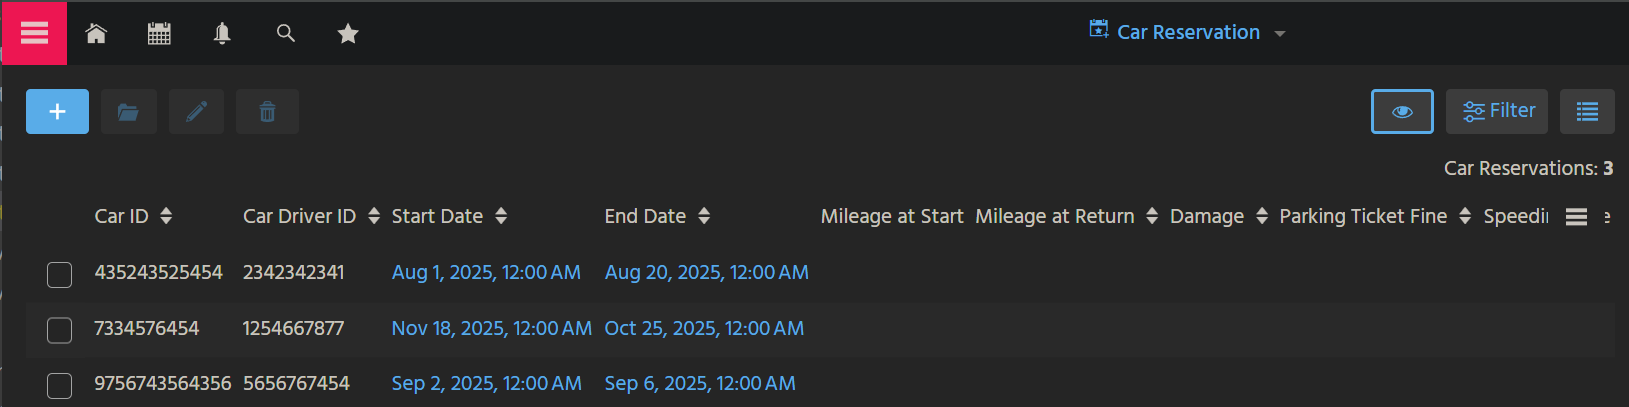
Finally, deploy and add some test data.
As for the keyword field CURRENCY and the foreign key fields CAR_ID and CARDRIVER_ID, simply add some data manually. We will enable a selection via dropdown/lookup later.
The result may look like this:
DisplayValues
To show the car's name instead of its ID and to show the driver's name instead of his/her ID, we add logic for a displayValue in the expression properties of the respective RecordFieldMappings:
import { result } from "@aditosoftware/jdito-types";
import { KeywordUtils } from "KeywordUtils_lib";

result.string("CONCAT(( "
+ KeywordUtils.getResolvedTitleSqlPart("CarManufacturer", "CAR.MANUFACTURER")
+ "), ' ', CAR.TYPE)");
CarReservation_entity.db.CAR_ID.displayValue.expression.js
import { result } from "@aditosoftware/jdito-types";
import { PersUtils } from "Person_lib";

result.string(PersUtils.getResolvingDisplaySubSql("CONTACT_ID"));
CarReservation_entity.db.CARDRIVER_ID.displayValue.expression.js
LinkedContext
Set the EntityField CAR_ID's property linkedContext to "Car", and CARDRIVER_ID's property linkedContext to "CarDriver". Then, in the client, these 2 fields appear with a link that will open the respective car/car driver in the MainView of the configured Context.
Furthermore, in Context CarDriver, set the EntityField CONTACT_ID's property linkedContext to "Person", enabling a quick jump to the PersonMain_view.
If you are in CarDiverMain_view, you can now click the "eye" icon (to the right of the driver's name), in order to show the driver's contact data in the PersonPreview_view.